OpenCart V3 Integration Setup Guide
This page outlines the process for integrating OpenCart V3 as a sales channel within Helm. You will learn how to install the necessary module, retrieve your API credentials, and correctly configure the integration for seamless order importing and inventory synchronisation
Last updated 8 months ago


Prerequisites
Before you begin, please ensure the following:
Administrative access to both Helm and your OpenCart V3 Admin Panel.
Access to your OpenCart hosting account (FTP or file manager).
The Helm OpenCart V3 extension.
Step 1: Install the Helm Module in OpenCart
To enable the connection between Helm and OpenCart V3, you first need to install the extension files.
Download the opencartv3.zip module package.
Extract the contents using WinRAR, 7-Zip, or your preferred tool.
Upload the contents of the
catalog/andadmin/folders to your OpenCart root directory via:FTP (e.g. using FileZilla), or
Your web hosting control panel’s file manager.
Once uploaded, proceed to the OpenCart Admin Panel to install the extension.
Step 2: Activate the API in OpenCart
Log in to your OpenCart Admin Panel.
Navigate to:
System → Users → API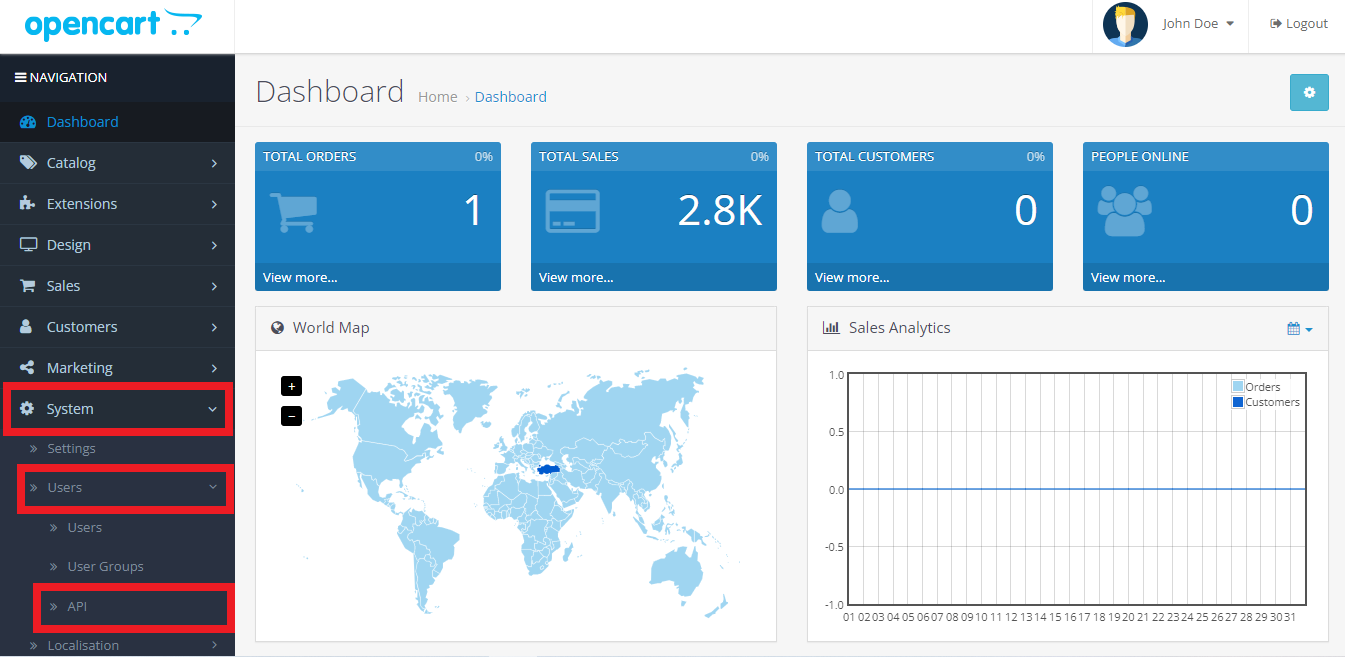
Click the plus (+) icon to create a new API user.
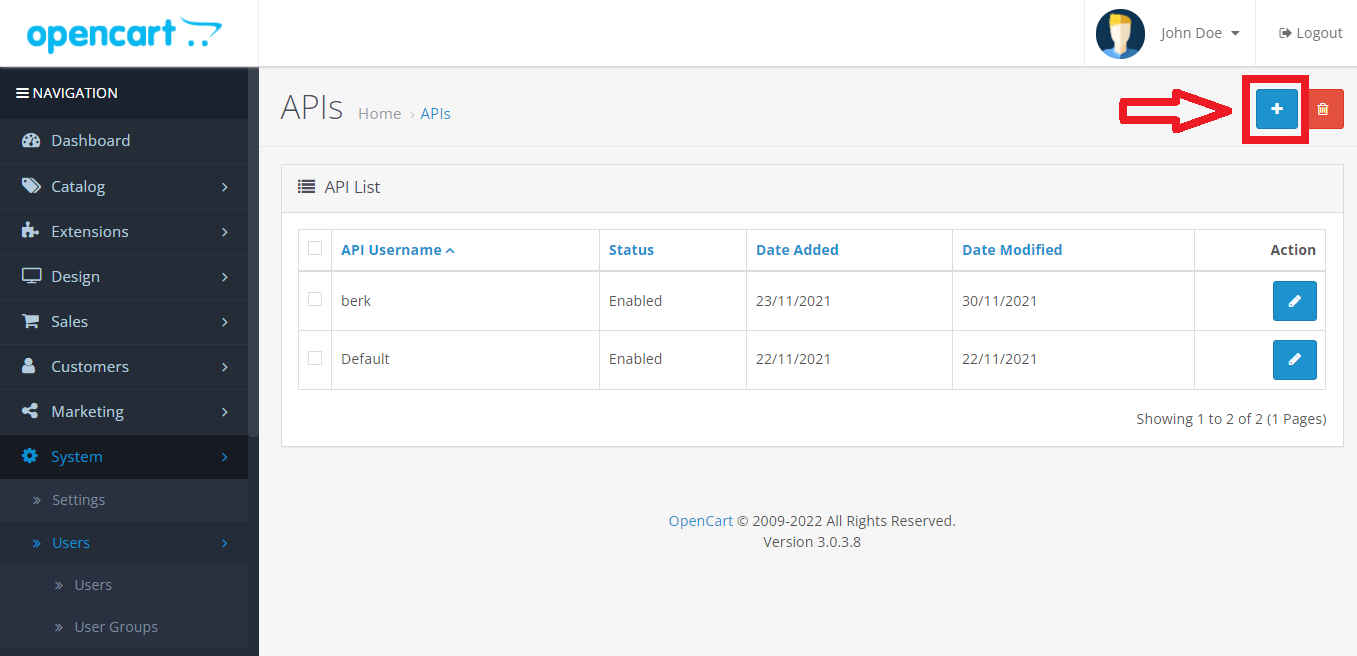
Enter a name for the API (e.g.
Helm_API).Click Generate to create an API key.
Set Status to Enabled.
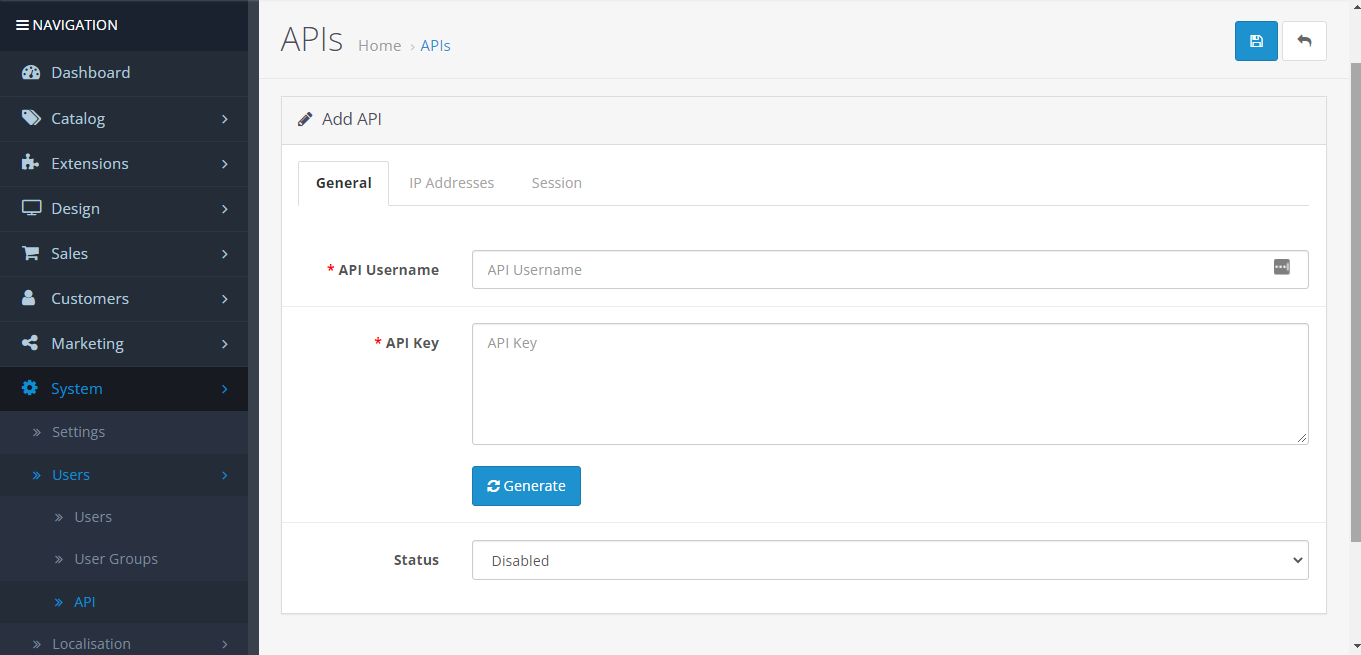
Click the Save (floppy disk icon) to finalise.
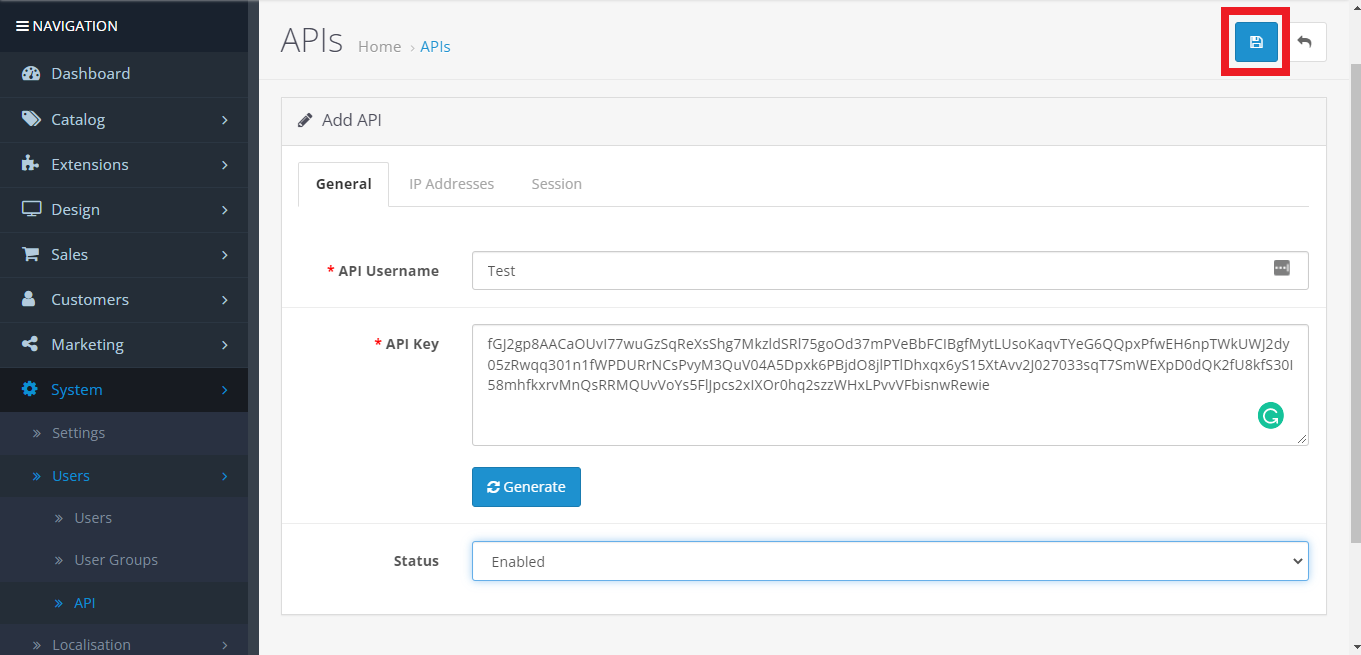
You now have your:
API Name
API Key
Note:
Keep these details secure - you’ll need them shortly when connecting the integration within Helm.
Step 3: Enable the Extension in OpenCart
In your OpenCart Admin Panel, navigate to:
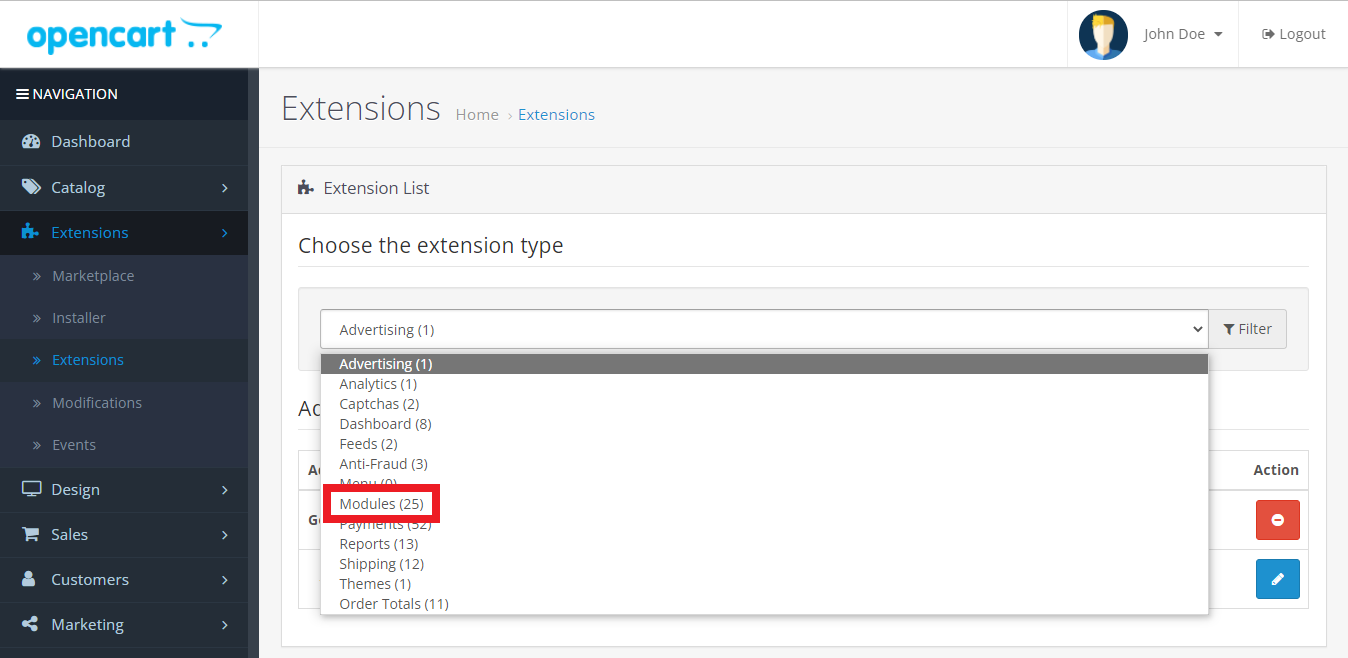
Extensions → Extensions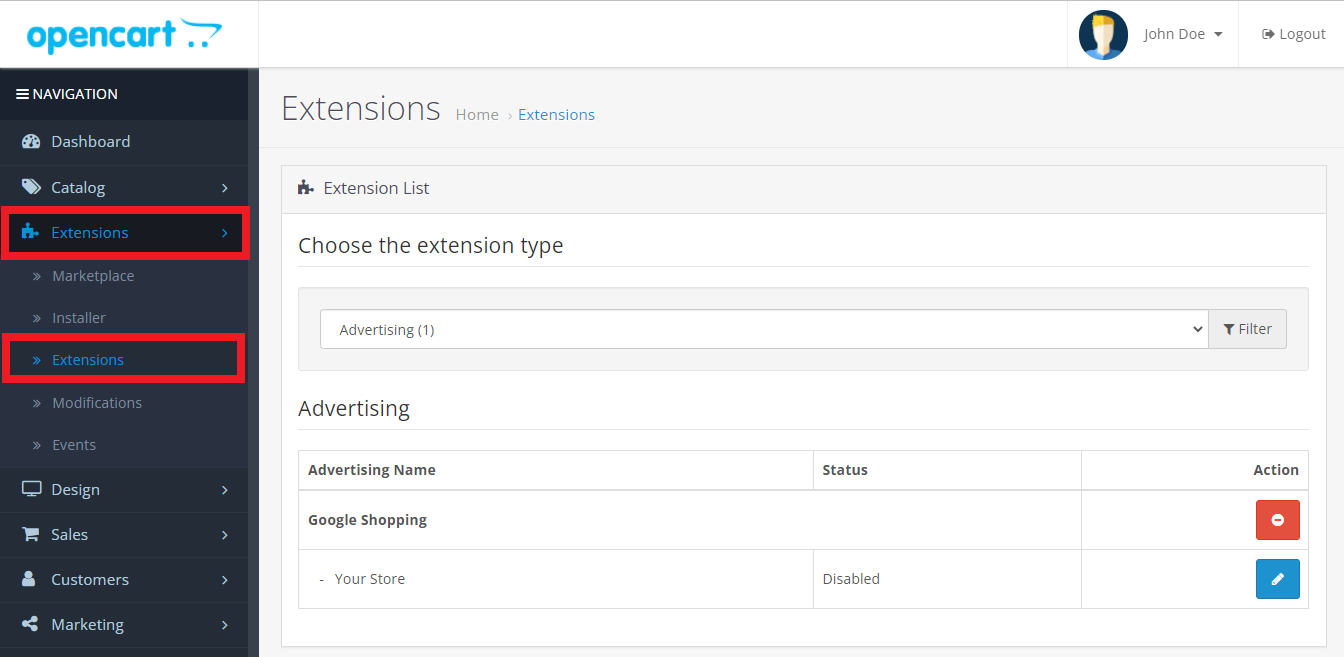
From the Extension Type dropdown, choose Modules.
Locate Helm (Despatch Cloud) in the list.
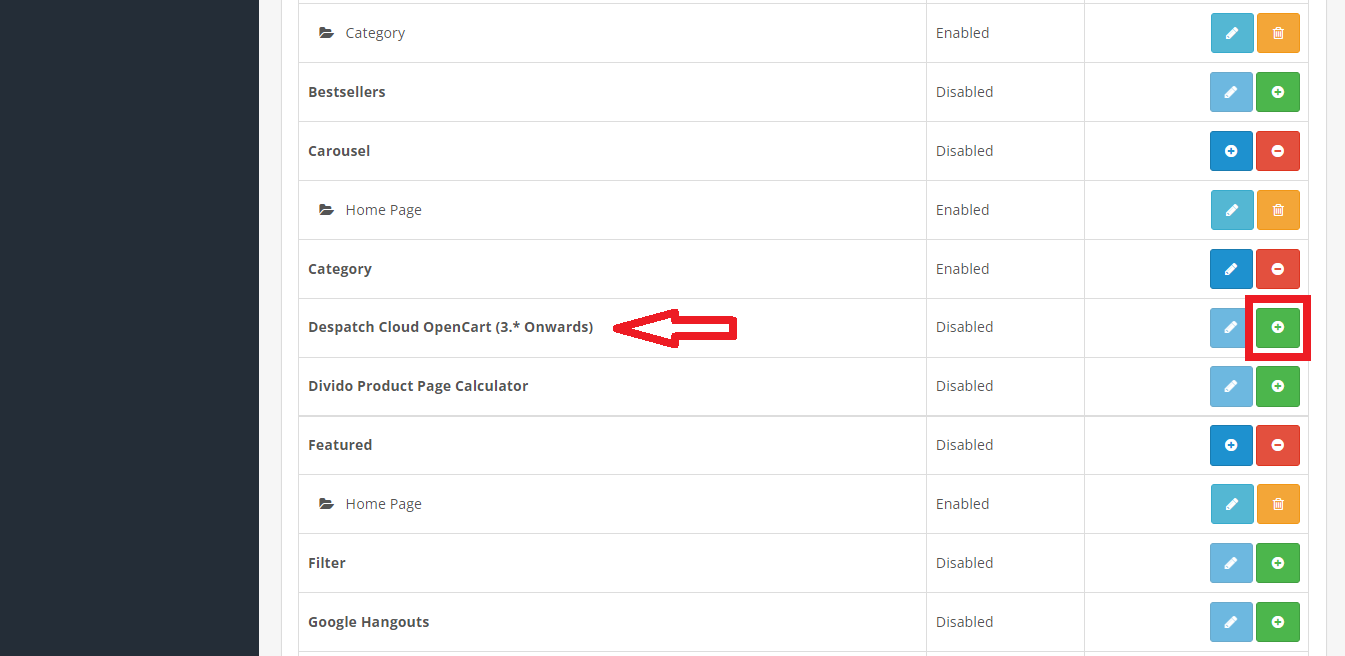
Click the Install (+) icon and wait for installation to complete.
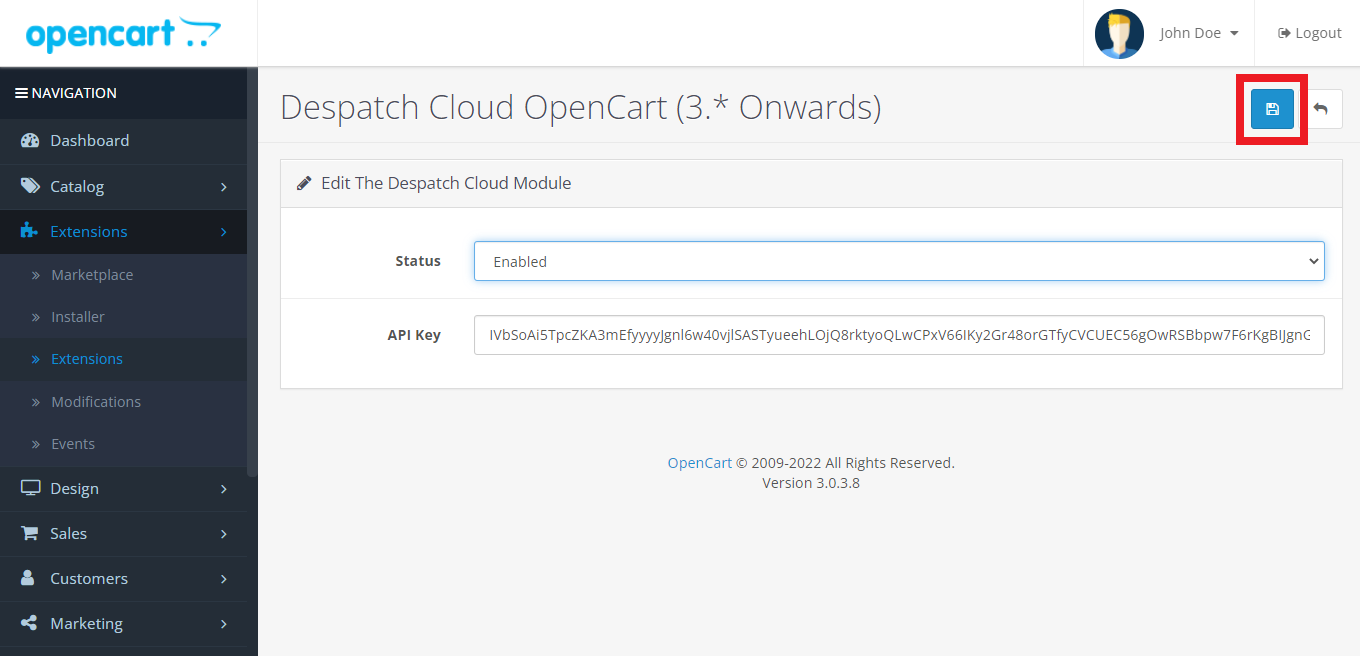
Once installed, click the Edit (pencil) icon.
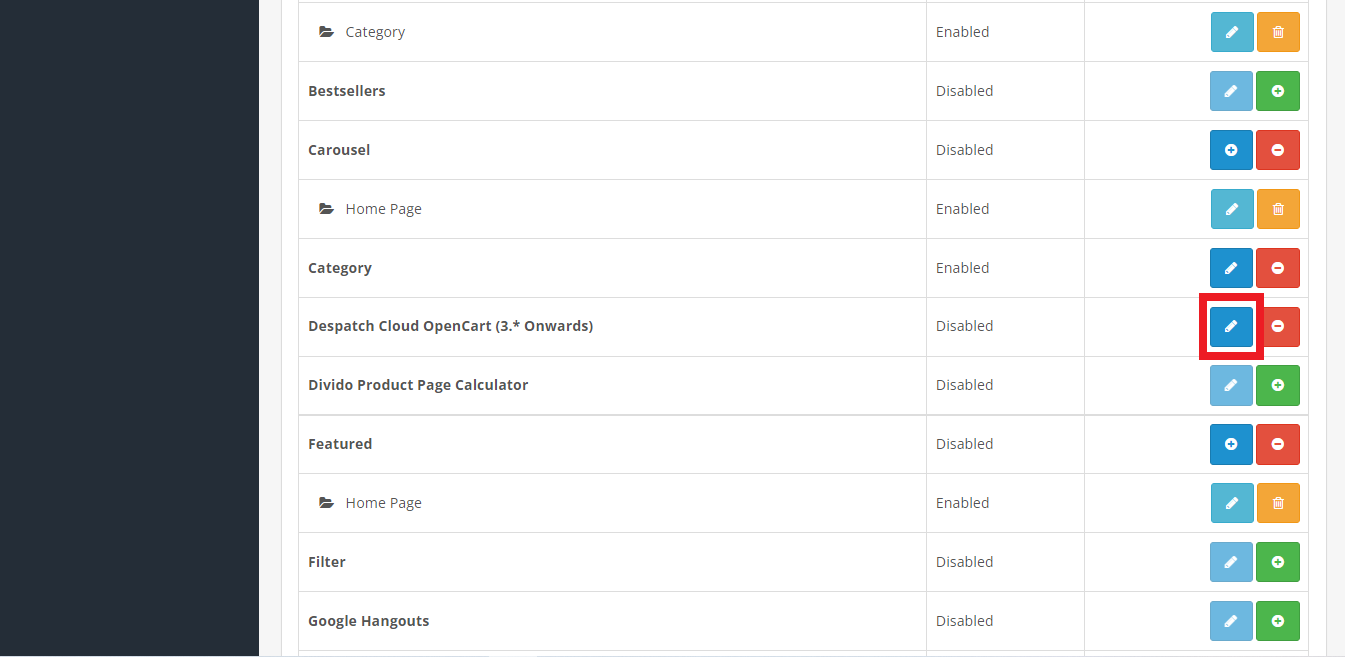
Set Status to Enabled.
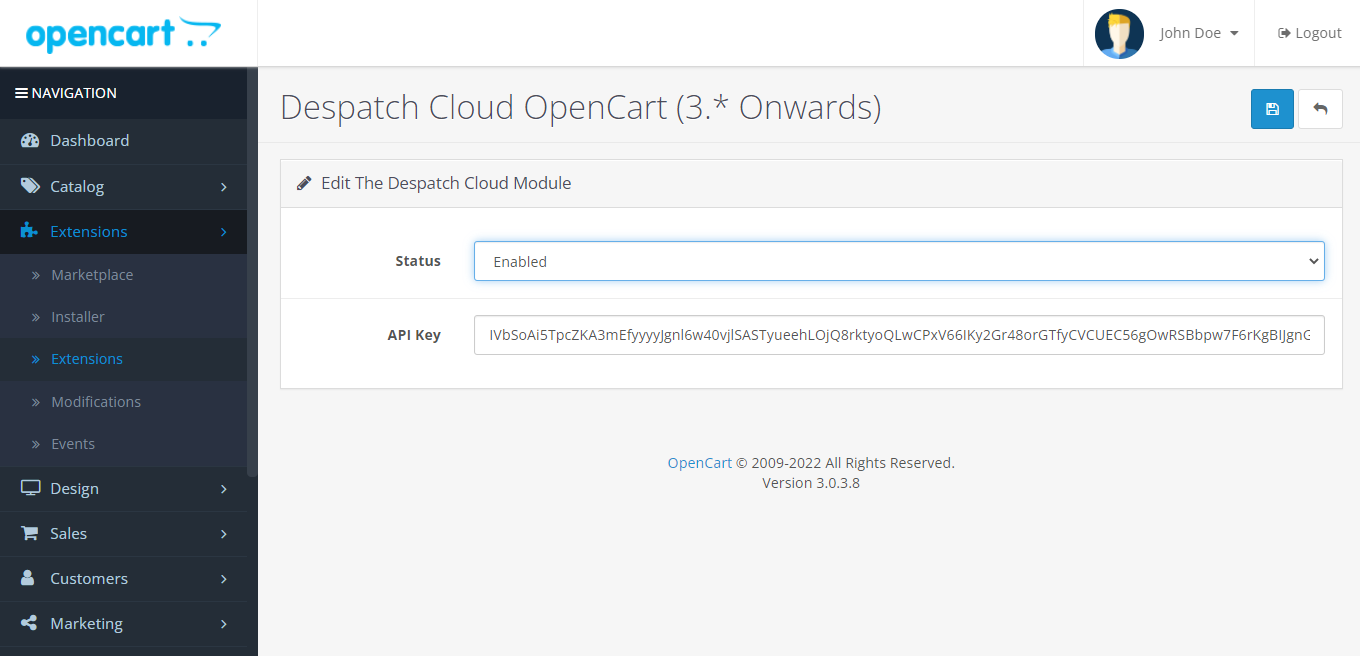
Paste your previously generated API Key into the API Key field.
Click Save.
Step 4: Add OpenCart V3 as a Sales Channel in Helm
Log in to your Helm Dashboard.
Navigate to:
Settings → Sales ChannelsFrom the list of integrations, select OpenCart V3.
Fill in the following configuration fields:
Active: Toggle ON to enable the channel.
Name: A clear reference for your store (e.g.
OpenCart - UK Store).Domain: The full store URL (e.g.
https://yourstore.com).API Key: The key you generated in Step 2.
Choose to enable any of the additional settings.
Step 5: Configure Additional Settings (Optional)
Once the basic connection is in place, Helm offers several optional configuration tabs to enhance the integration:
Settings - You can set up your warehouse and its unique settings.
Stock Control – Auto-sync your stock levels from Helm.
Brand – Use your default or custom branding details.
Commercial Invoice – Configure invoicing preferences per sales channel.
Despatch Emails – Send automated shipping emails with tracking.
Feedback Emails – Send review requests after orders are completed.
Step 6: Complete the Setup
Once all fields and settings are configured:
Click Submit.
A confirmation message will appear in the top-right corner of Helm.
Your OpenCart V3 channel will now be listed as active.
Orders and inventory will begin synchronising automatically.
Additional Notes
You can return to
Settings → Sales Channelsat any time to update or deactivate your OpenCart V3 integration.Ensure your API credentials remain active and valid to avoid interruptions.
If managing multiple OpenCart stores, install each one using unique names and credentials.