Magento 1 Integration Setup Guide
This guide outlines the steps required to connect your Magento 1 store to Helm. You’ll create API credentials within your Magento admin panel, configure access roles, and enter the appropriate details in Helm to complete the integration
Last updated 9 months ago


Prerequisites
Before starting, please ensure:
You have access to your Magento 1 Admin Panel with administrative privileges.
You can create new API Roles and Users.
You have your Magento store URL ready.
Step 1: Create an API Role in Magento.
Log in to your Magento 1 Admin Panel.
From the navigation menu, go to:

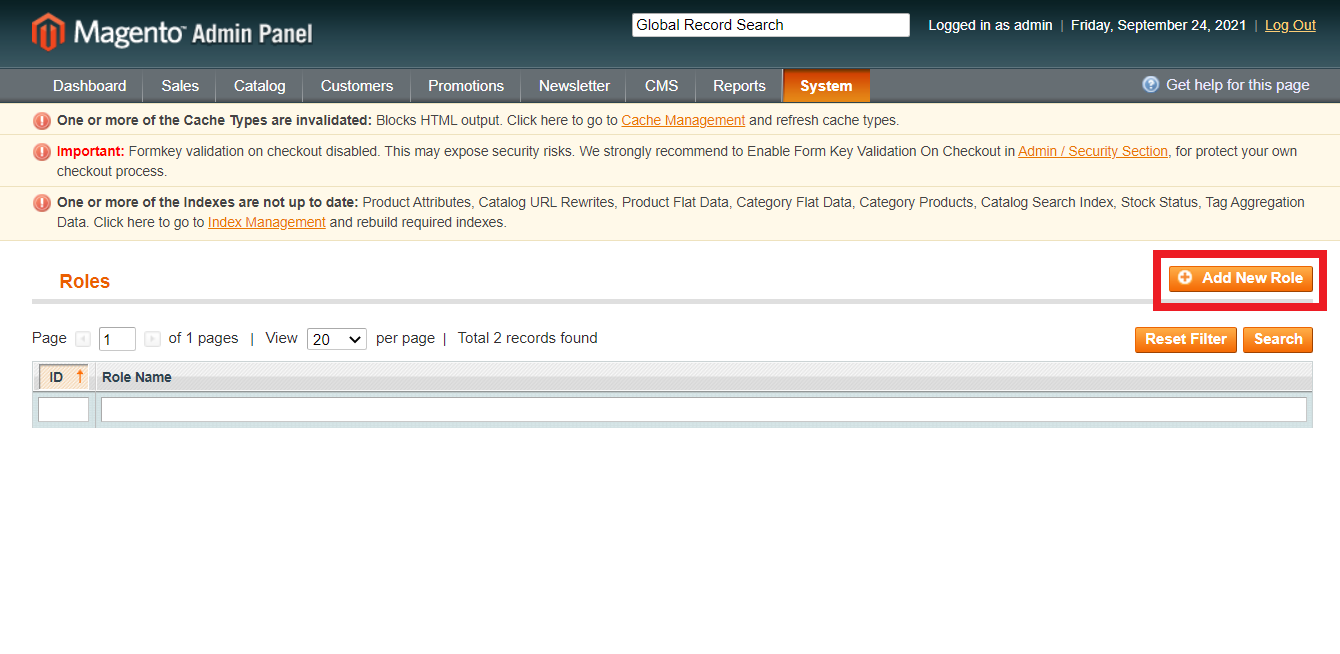
System → Web Services → SOAP/XML-RPC - Roles.
Click Add New Role.
Provide a role name of your choice, and enter your current admin password to proceed.

Navigate to the Role Resources tab.
Set Resource Access to All to ensure Helm has full API access.
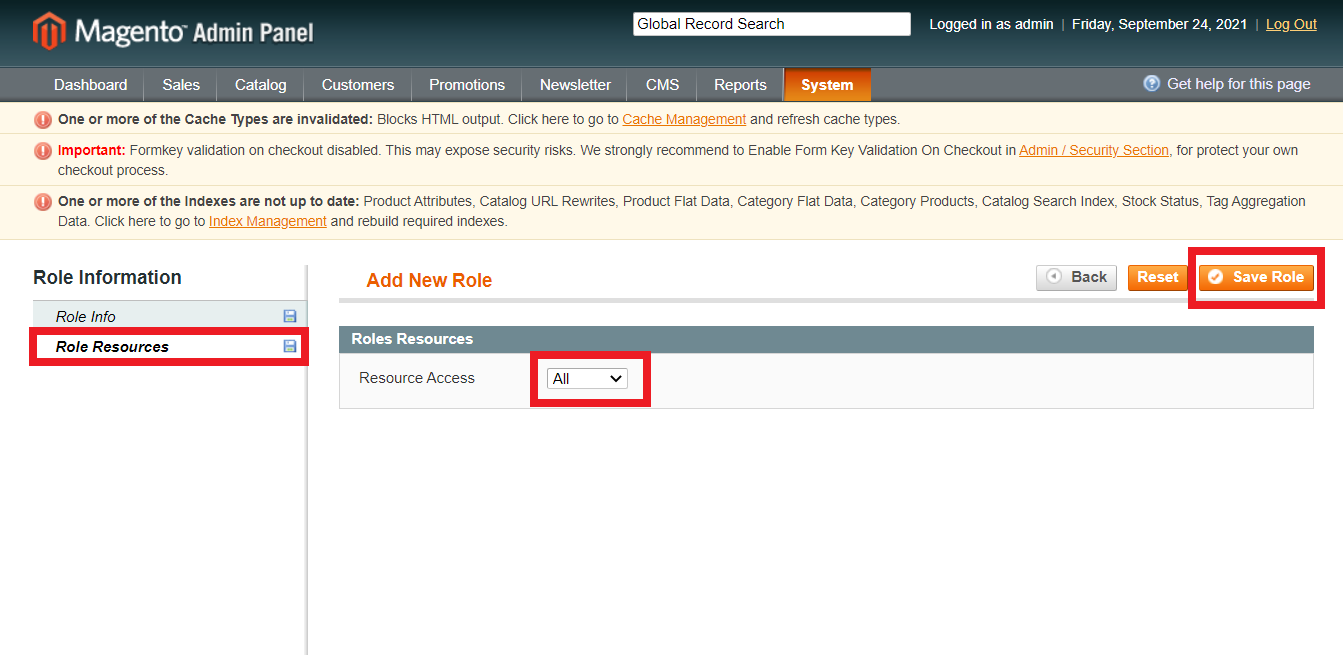
Click Save Role to finish this step.
Step 2: Create an API User in Magento
Return to:

System → Web Services → SOAP/XML-RPC - Users
Click Add New User.

Fill in the user details:

User Name – Choose a unique name (e.g.,
helm_api_user).API Key – Choose a secure key. You’ll need to use this key later in Helm.
Record both values somewhere safe.
Scroll down to the User Role section.
Assign the user to the API Role you created in Step 1.

Click Save User to complete this step.
Step 3: Connect Magento 1 to Helm
Log in to Helm and navigate to Settings from the bottom-left corner.
Select Sales Channels and choose Magento 1 from the integration list.
Fill in the following details:
Active - Toggle on to set as active.
Name – Choose a reference name for the channel (e.g. Magento UK Store).
Magento 1 Domain URL – Your full store URL (e.g.
https://yourstore.com/).API Username – The user name you created in Magento.
API Key – The secure key set for the user.
(Optional) Enable Custom Fulfilment Status:
Tick the checkbox if you wish to use personalised fulfilment statuses such as Awaiting Courier, Awaiting Label, or Fulfilled.
Enter your preferred custom status which Helm should send to Magento when orders are marked as fulfilled.
Explore the configuration settings to further tailor and enhance your integration.
Click Settings in the top tab and choose the Helm warehouse from which goods will be despatched for this integration.
Explore the configuration settings to further tailor and enhance your integration.
Optional configuration tabs include:
Stock Control – Set up Auto Sync Stock.
Brand – Setup your Company Information for this sales channel below. By default your Company Information as set in General Settings will be used.
Commercial Invoice – Setup your Commercial Invoice Information for this sales channel below. By default your Commercial Invoice Information as set in General Settings will be used.
Despatch Emails – Do you want Helm to send out an order despatched email with carrier tracking information (if applicable)? If you do setup your Despatch Email for this sales channel below.
Feedback Emails – Do you want Helm to send out an order feedback email? If you do, setup your Despatch Email for this sales channel below.
Adjust these according to your business requirements.
Once all fields are complete, click Submit to finalise the setup.
A confirmation message will appear once your Magento 1 channel has been successfully connected.
Completion
You have now linked your Magento 1 store with Helm. Orders and stock data will begin syncing automatically, streamlining your order management across platforms.