Wish Integration Guide
Integrate your Wish merchant store with Helm to enable seamless order and inventory synchronisation
Last updated 9 months ago

Step-by-Step Setup
Step 1: Access the Integration Page
Log in to your Helm account.
Navigate to:
Settings → Sales Channels.From the list of available channels, select Wish.

Step 2: Obtain Your Wish API Credentials
To complete the integration, you’ll need your Client ID and Client Secret (Client Key) from your Wish merchant account.
Steps to Retrieve Your Credentials:
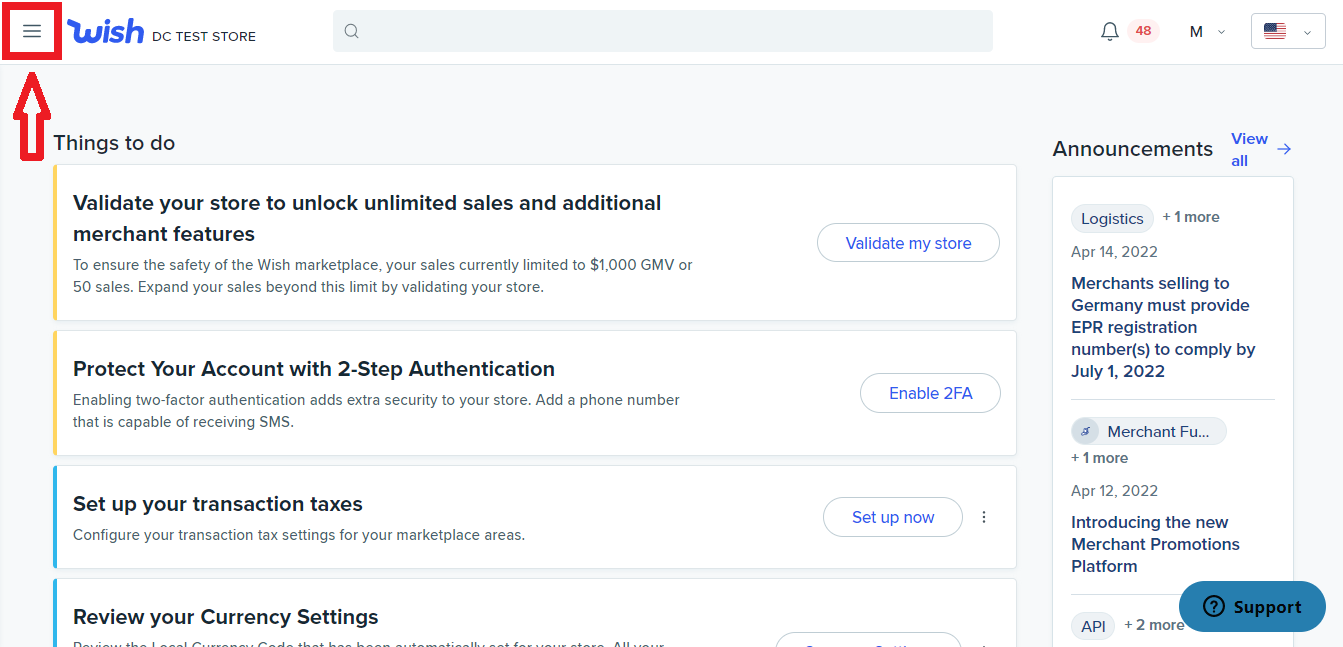
Log in to your Wish merchant account:
https://merchant.wish.com/login.Click the menu icon in the top-left corner.
Navigate to:
Settings → API.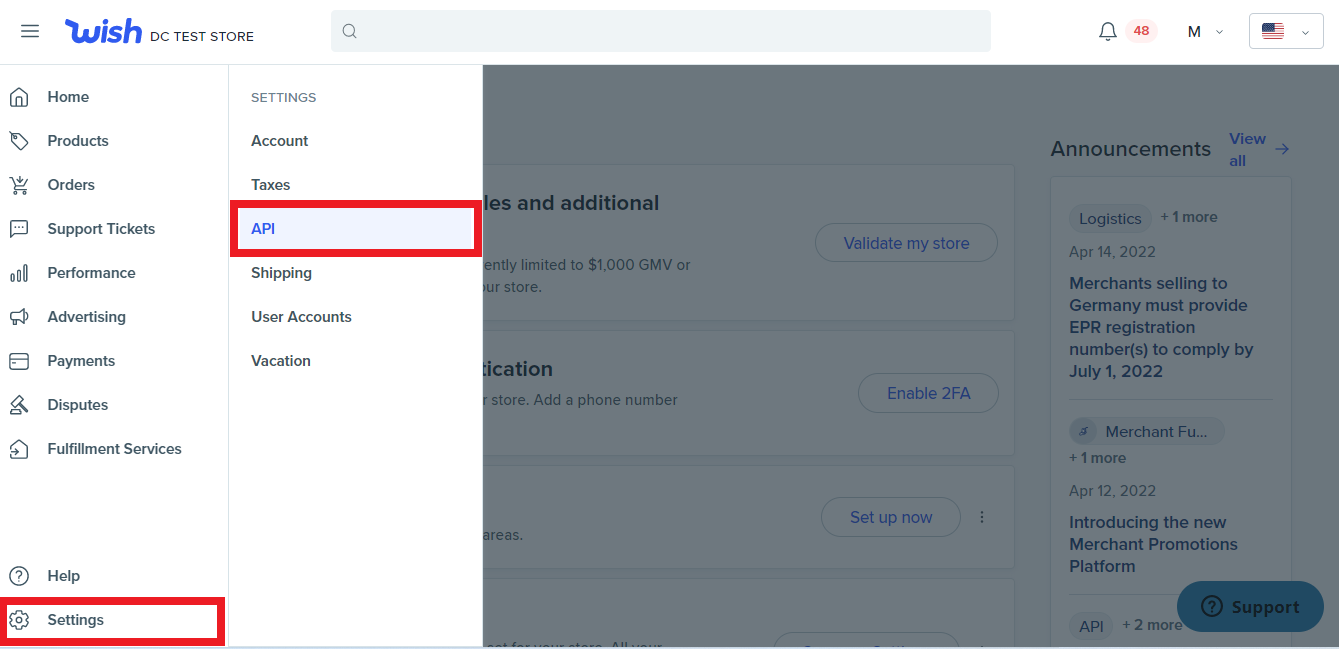
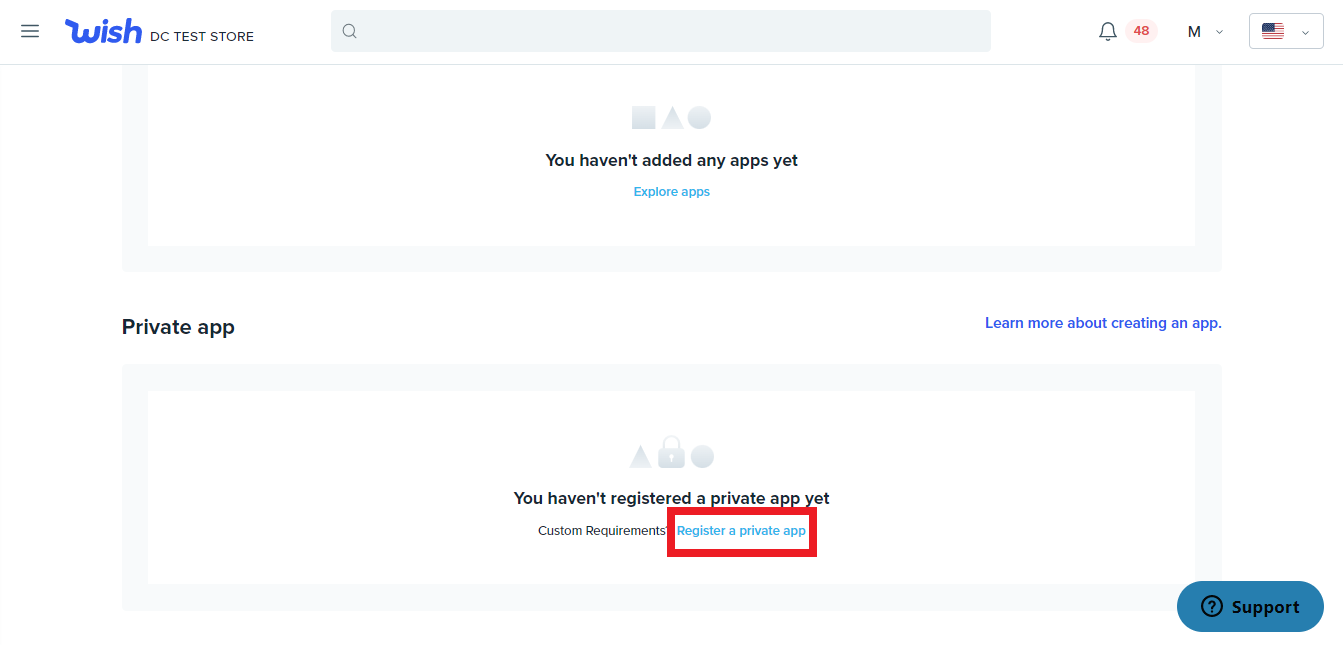
Scroll down to the Private app section and click Register a private app.
Fill out the form with the following:
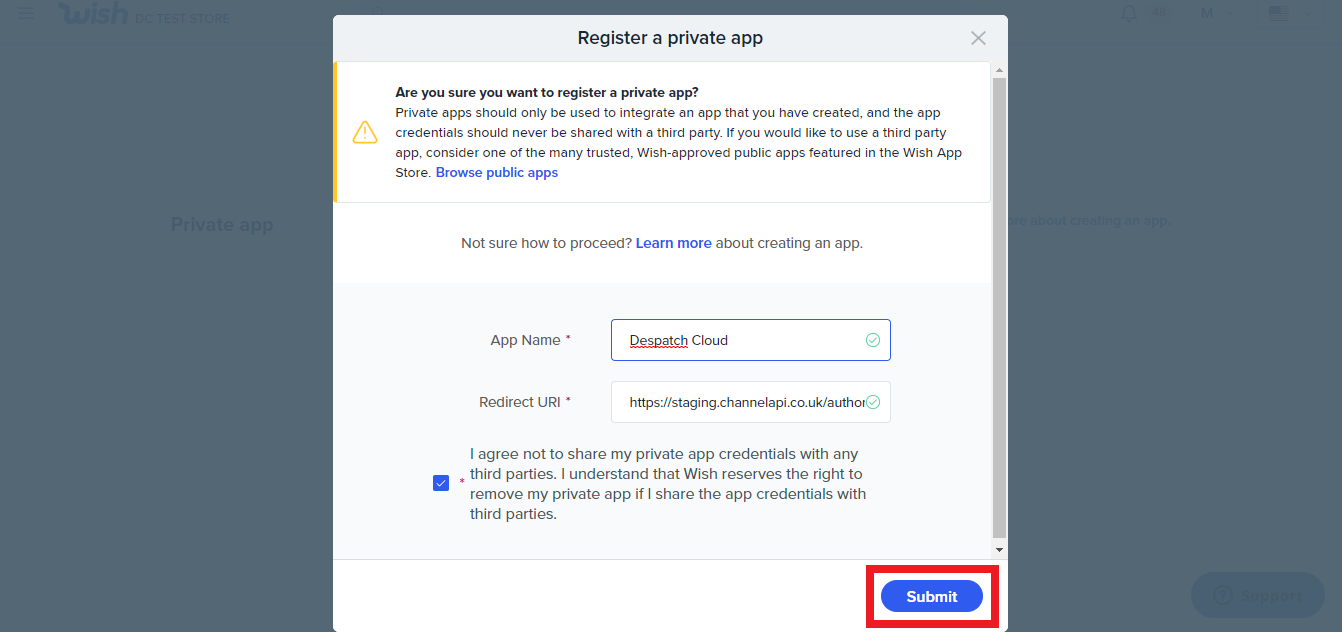
App Name: Choose a meaningful name (e.g. Helm Wish Integration).
Redirect URL:
https://staging.channelapi.co.uk/authorization/wish
Tick the agreement checkbox and click Submit.
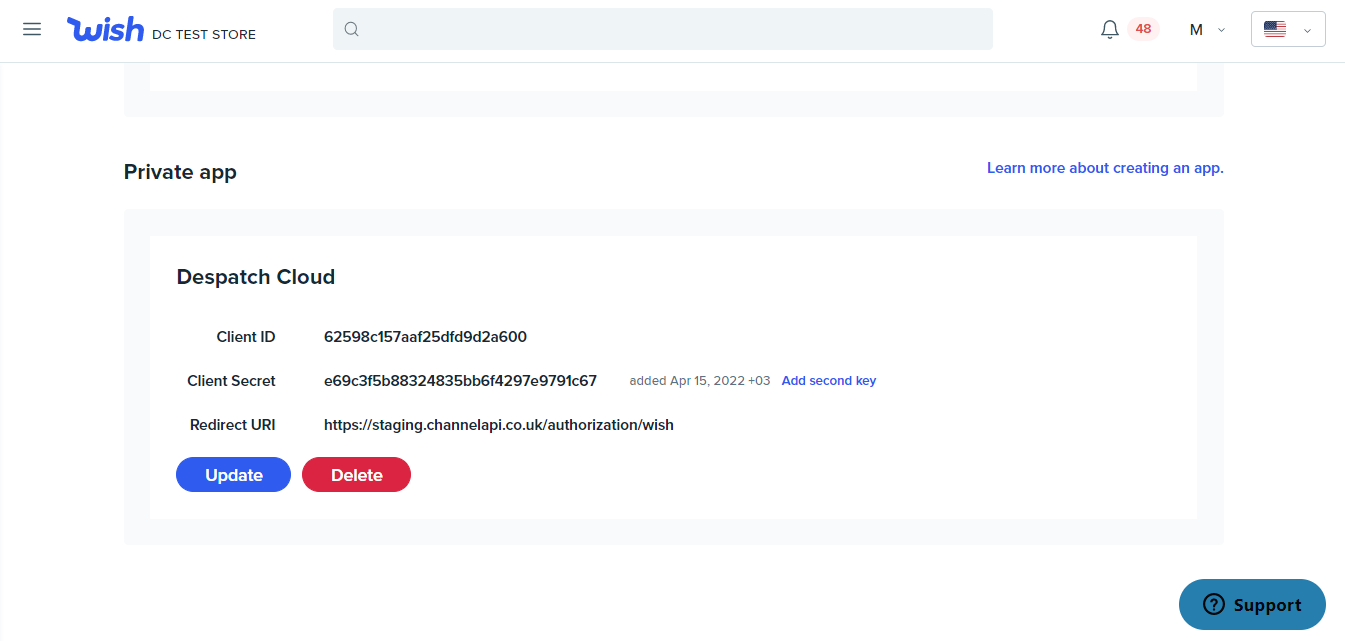
Once submitted, you’ll be provided with your Client ID and Client Key.
📌 Keep these credentials secure, as they are required to complete the integration in Helm.
Step 3: Configure the Wish Channel in Helm
From the Sales Channels section in Helm, click Install on the Wish integration.
Fill in the following required fields:
Step 4: Configure Additional Settings (Optional)
You can further customise the integration via optional tabs:
Settings – Define the warehouse from which orders will be fulfilled.
Stock Control – Enable auto stock synchronisation.
Brand – Set up company branding for this channel (defaults to General Settings).
Commercial Invoice – Configure invoice information for this channel.
Despatch Emails – Enable automatic despatch emails with tracking details.
Feedback Emails – Enable automatic feedback request emails.
Adjust these settings based on your operational needs.
Step 5: Finalise the Integration
Once all fields and preferences are set:
Click Submit.
A confirmation message will appear in the top-right corner of your screen.
Your Wish sales channel will be active and ready for use.
Completion
You’ve now successfully integrated Wish with Helm. Your orders, stock levels, and fulfilment updates will now sync automatically, providing streamlined operations across systems.